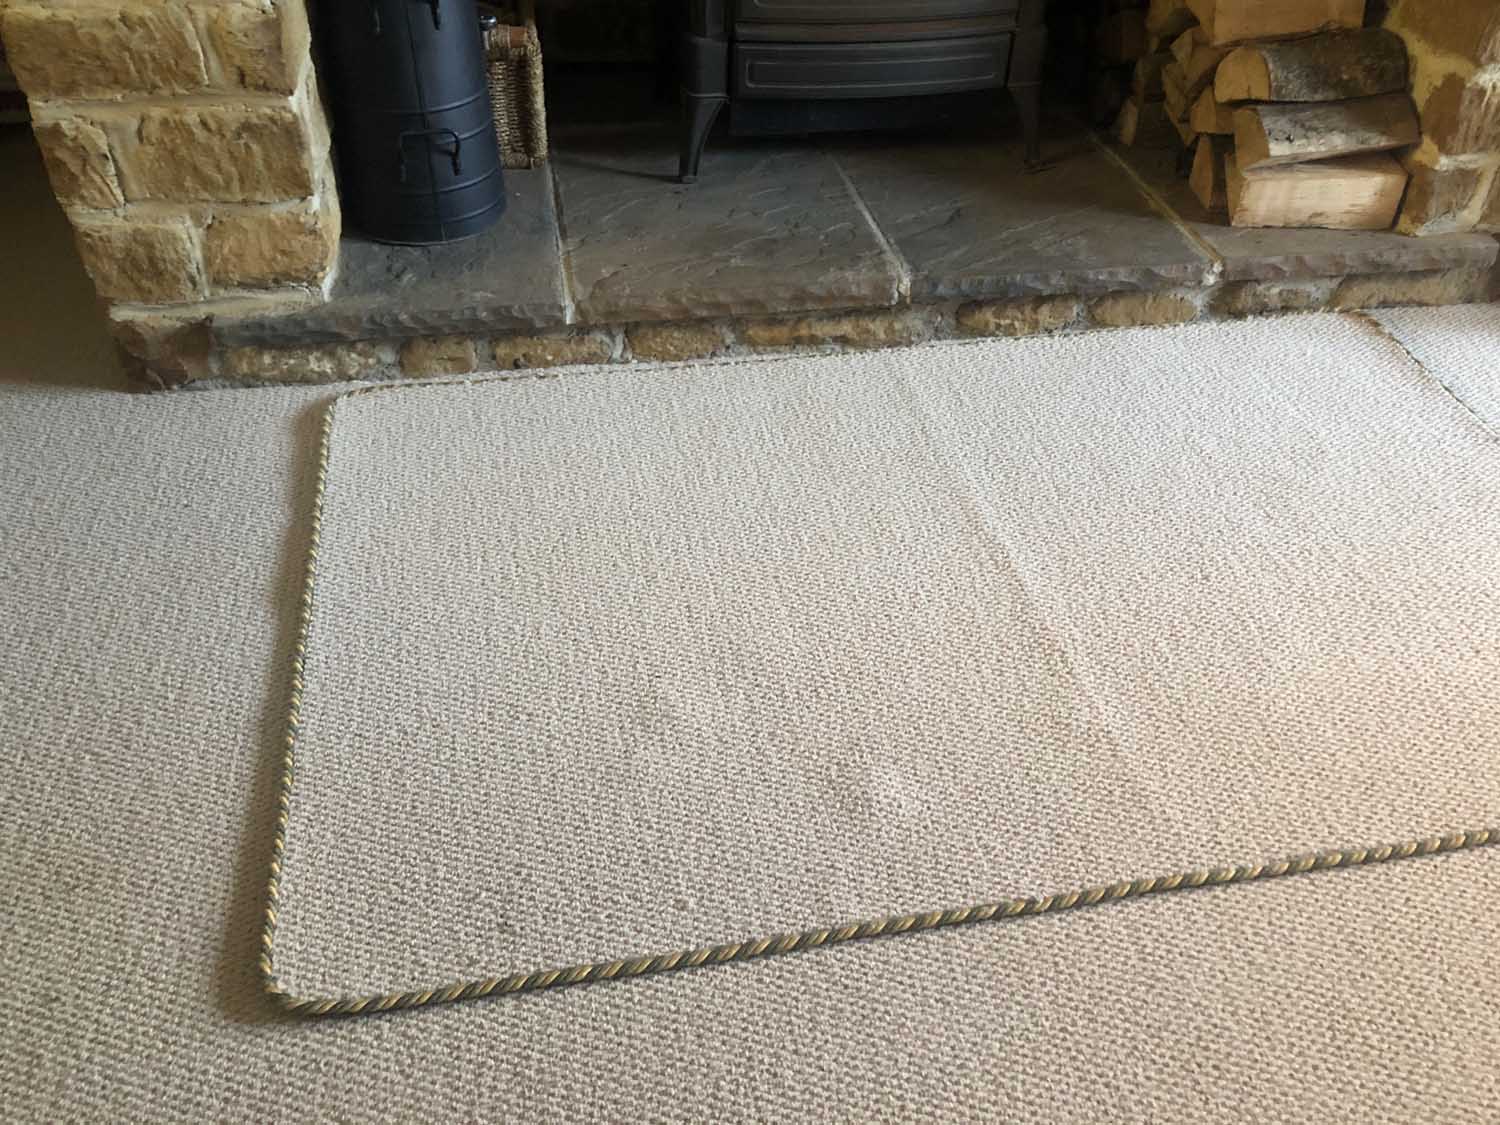
Discover How to Apply Carpet Edging Tape to Make Rugs
I recently used carpet edging tape to make a couple of rugs for our living room. I took a few snaps along the way to show what was involved and how I approached the job. It turned out to be easier than I first thought and I’m chuffed with how they worked out. Even our spaniel has given me the wag of her tail.
Choose a colour – plain or multi
The new carpet is a ribbed, loop-pile style. In a light stone-like colour. I thought about trying to find a carpet edging tape to match but came across the Easybind carpet binding. Whilst there is a pretty large choice of plain colours, we went for the combi-toned Green Peter. The twisted rope edging is made up of thick yarns in gold, green and a striped green, which look great against the carpet and match the curtains.
Measure up the remnant carpet
For this project, I used up two pieces of remnant carpet to make these rugs. The first job was to measure the amount of binding and order it – it took just a few days to arrive from CarpetRunners.co.uk. The Green Peter carpet binding came in a long piece – I ordered 11M in total. You can order as much as you want and it arrives wrapped around a card.
Rope edging supplied pre- attached to the binding tape
The binding comes already attached to the self-adhesive tape.
Useful tools to have to hand
You need to use a glue gun – I had one already in the garage and used about eight glue sticks to do the two rugs. You can also purchase them at the same time as your carpet tape. Likewise, a utility knife to cut the carpet, scissors to cut the carpet binding, adhesive tape plus marker pen, a ruler and I found my old set square came in handy too. I did all the prep work on my dining-room table, which was maybe not a great idea as I had to be careful I avoided cutting straight through the carpet and damaging the table. I really would have been in the dog-house then!
Make sure your rugs are square
Before cutting my rugs to size, I marked them out on the backing of the carpet. I checked that the rugs would look true and “square”, and not cut at an angle, by measuring the diagonals and checking they were the same. Likewise, my set square proved helpful to make sure the rugs had perfectly true corners. Alternatively, you could use a Xmas card or similar, to get the same result.

Prepare the frayed edges for the carpet edging tape
Having trimmed off the frayed fibres and the loose tufts, I decided to round the corners of the rugs – just because I know from experience that trying to mitre corners is always fiddly. The rounded corners proved much easier to bind than a standard 90-degree angle.

Do watch the manufacturer’s video
The manufacturer’s video demonstrates how to attach the Easybind and I found useful to watch. It also offers a few useful tips such as using sticky tape when cutting the carpet binding tape – it ensures a neat job and avoid frayed edges. There is a peel-off strip on the reverse of the binding and you simply press the sticky strip to your carpet, all the way around the edge of the rug. Once I got started, it was easy and quick to do.
Seal with a bead of glue
The last job is on the front-side – you run a bead of glue between the rope binding and the carpet edge and push together. This seals the cut fibres and creates an extra strong fix on the front. First, I practised on a spare piece and discovered running the gun nozzle along at speed helped keep a constant flow. Once the glue dried, I can’t even see it.
Now, time to get back to the cricket…

For further information about applying Easybind rug edging take a look at these top tips: https://www.carpetrunners.co.uk/how-to-guides/carpet-binding/
Manufacturer’s note
Easybind carpet binding finishes the edges of rugs and runners with an attractive rope design. Unlike the traditional method of whipping the edges with an over-locking stitch, Easybind looks aesthetically appealing and is attached on site rather than sending away to be finished.

